
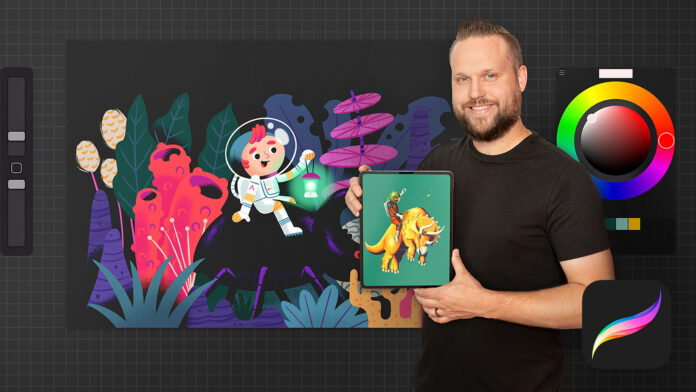
Procreate is a digital drawing app designed for iPad and iPhone that offers a wide range of artistic tools and features. If you are a beginner and want to start with digital drawing, Procreate can be a perfect choice.
This app provides a user-friendly interface with various brushes, layers, and blending options that allow artists to create stunning artwork. In this beginner’s guide, we will discuss some essential tips and tricks that can help you get started with Procreate and create beautiful art.
Choosing the Right Device
Before starting with Procreate, it is crucial to have the right device. Procreate is designed for iPad and iPhone, so make sure you have either of these devices. The app runs smoothly on the latest iPads and iPhones, but older models might not support all the features.
The iPad Pro is considered the best device for using Procreate, as it offers a large canvas and supports Apple Pencil for drawing. However, if you have an iPad Air or iPad Mini, they are also compatible with Procreate and can produce impressive results.
Getting Familiar with the Interface
Once you have installed Procreate on your device, it’s time to get familiar with the app’s interface. Procreate offers a clean and straightforward interface that makes it easy for beginners to use. When you open the app, you will see a blank canvas, and on the top right, there are various icons that represent different tools.
The left side of the screen shows the layers, brushes, and color palette. You can customize the interface by adding or removing tools from the toolbar or creating custom brushes and color palettes.
Using Brushes
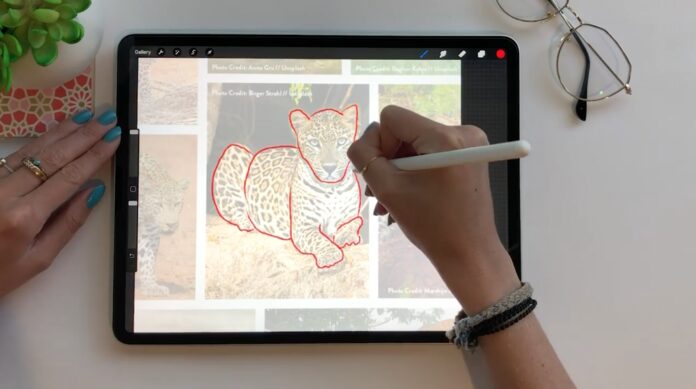
Procreate offers a wide range of brushes that allow you to create different effects and textures in your artwork. To select a brush, tap on the brush icon on the top right of the screen. You will see a range of brushes, including pencil, ink, paint, and calligraphy.
You can also download additional brushes from the internet or create your own custom brushes. Once you have selected a brush, you can adjust its size, opacity, and other settings to suit your needs. Procreate also offers the option to save your favorite brushes for easy access in the future.
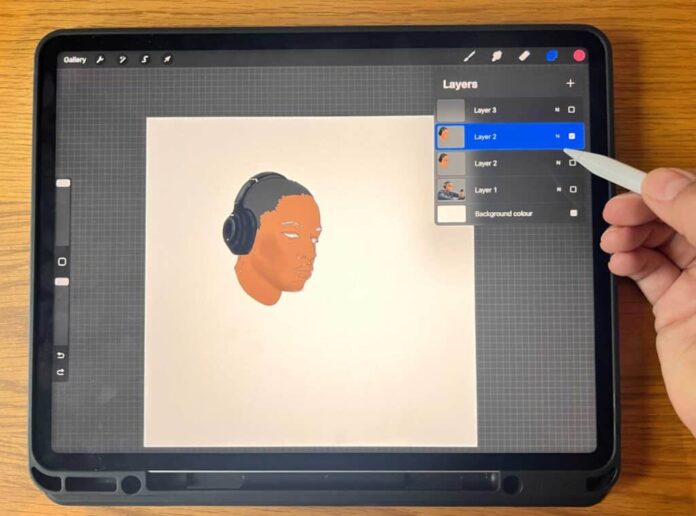
Working with Layers
Layers are one of the most important features of Procreate, allowing artists to create complex and detailed artwork. Layers are like transparent sheets that you can draw on top of each other. To add a new layer, tap on the Layers icon on the left side of the screen and select “Add” at the bottom of the Layers panel.
You can rename the layer and adjust its opacity and blending mode. You can also rearrange the layers by dragging them up or down on the Layers panel. Using layers allows you to work on different parts of your artwork separately and make changes without affecting the rest of the drawing.
Using Selection Tools
Procreate offers various selection tools that allow you to select and manipulate specific parts of your artwork. To access the selection tools, tap on the Selection icon on the top right of the screen.
You will see a range of selection tools, including freehand, rectangle, ellipse, and magic wand. You can use these tools to select specific areas of your artwork and move, resize, or rotate them. The selection tools can also be used for cutting, copying, and pasting parts of your artwork.
Using Gestures
Procreate offers various gestures that make it easier to navigate and use the app. Some of the essential gestures include:
– Pinch to zoom – You can pinch two fingers together to zoom in on your artwork and pinch them apart to zoom out.
– Two-finger tap – You can tap two fingers on the screen to undo your last action.
– Three-finger swipe – You can swipe three fingers to the left or right to undo or redo multiple actions.
These gestures can save time and make it easier to use the app, especially when you are working on a detailed artwork.
Experimenting with Blending Modes
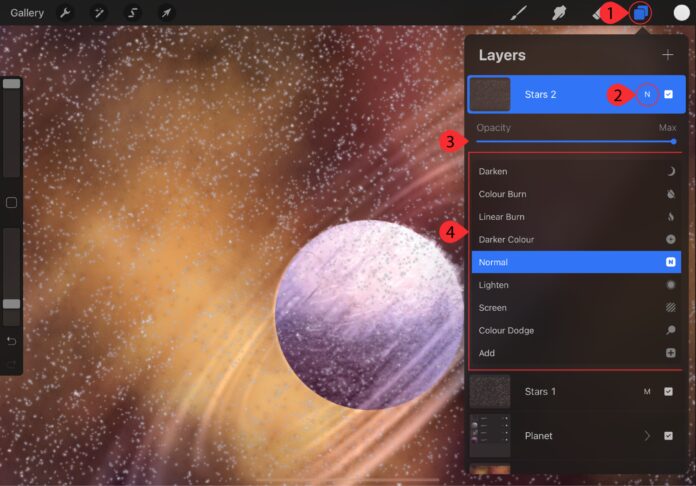
Blending modes are a powerful feature of Procreate that allow you to blend different layers and colors in your artwork. To access the blending modes, tap on the Layer icon and select the layer you want to adjust. Then, tap on the “N” icon next to the layer name to access the blending modes.
There are various blending modes, including normal, multiply, overlay, and screen. Each blending mode creates a different effect by blending the layer with the layers below it. You can experiment with different blending modes to create unique and interesting effects in your artwork.
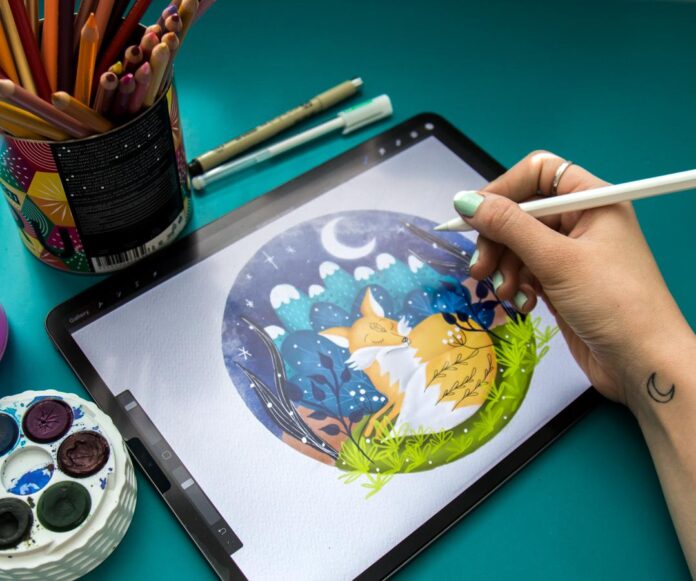
Using the Color Picker
The color picker in Procreate allows you to choose colors from a wide range of options. To access the color picker, tap on the Color icon on the top right of the screen. You will see a range of color palettes, including basic, color harmony, and custom.
You can also create your own custom color palette by selecting the swatch icon on the top right of the color picker. You can then adjust the hue, saturation, and brightness to create the color you want.
Exporting Your Artwork
Once you have finished your artwork, you can export it in various formats, including PNG, JPEG, and PSD. To export your artwork, tap on the wrench icon on the top left of the screen and select “Share” at the bottom of the menu.
You can then select the format and quality of your artwork and choose where to save it. Procreate also offers the option to export your artwork to other apps, such as Dropbox or Adobe Creative Cloud.
Conclusion
Procreate is a versatile and powerful app that offers a wide range of tools and features for digital drawing. As a beginner, it can be overwhelming to use at first, but with practice and experimentation, you can create stunning artwork. With these tips, you can start your journey in digital drawing and explore the endless possibilities of Procreate.


")
