
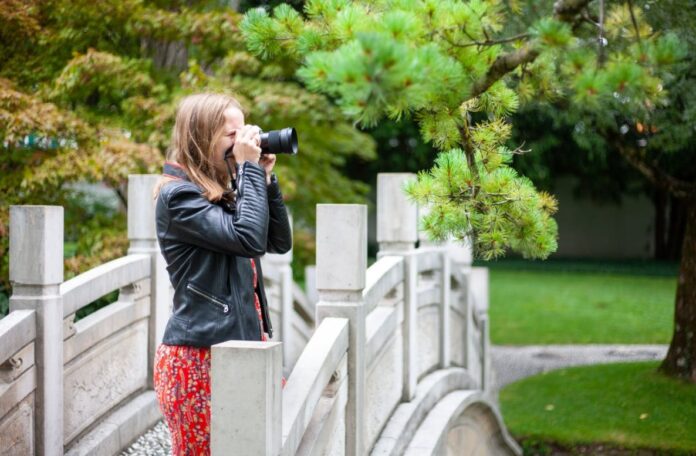
Each composition that you approach to make has some common characteristics: the plans of a photo. In fact, you will have heard many times about “subject in the foreground”, “element in the background” or the “background” and so on. Yes, in many situations you can remove bg to make everything better but that’s not all.
In each photo you can therefore generally identify:
• a close-up characterized by the element closest to the lens of your camera;
• the background, or everything that is “behind” the foreground element
• a second floor characterized by any intermediate elements that are located between the foreground and the background and which manage to maintain their individuality.
How to manage “the plans”
Each photographer, therefore you too, has the ability to define which elements are more important than others by playing with the management of the plans in the composition of the image. After all, it is normal to hear the quote “being overshadowed” to indicate a loss of importance, on the contrary you have often heard “give it a close up” (especially in cinema) to indicate that a subject must be “exalted” and made more important.
You photographer can manage this thing thanks to the depth of field, or deciding which elements must be “sharp” and which “blurry” for example.
Your Secret Weapon…
A background remover is incredibly useful for enhancing the composition of a photo. It allows you to eliminate distracting elements in the background, thereby focusing the viewer’s attention squarely on the main subject.
This is particularly beneficial in portrait photography, product shots, and graphic design, where a clean and uncluttered background is crucial for highlighting the subject.
Additionally, removing the background enables you to seamlessly integrate the subject into different contexts or digital backgrounds, offering creative flexibility and the ability to tailor images to specific themes or aesthetics.
This tool is indispensable for creating visually striking compositions that capture and retain viewer interest.
How to Use It?
- Choose Your Tool: Select a background remover tool. Many photo editing software options like Adobe Photoshop, GIMP, and online platforms like Remove.bg offer this feature.
- Upload Your Image: Open the tool and upload the photo from which you want to remove the background.
- Select the Subject: Some tools automatically detect the subject and remove the background. If the tool doesn’t automatically select the subject, you may need to manually outline the area you want to keep using a lasso or brush tool.
- Refine Edges: Adjust the edges of your selection for a cleaner cut. Most tools offer options to refine the edges to ensure the subject is cleanly separated from the background, without leaving behind any unwanted fragments.
- Preview and Adjust: Preview the image to ensure the background has been removed to your satisfaction. Adjust if necessary, perhaps tweaking the edges or removing any leftover spots.
- Save Your Image: Once satisfied with the image, save it. Tools typically offer options to save the image with a transparent background (usually as a PNG file) or to choose a new background color or image.
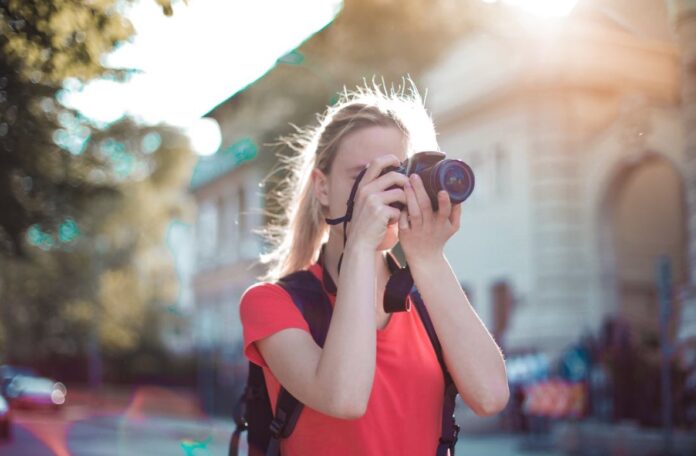
Don’t forget about the light
If they asked me what the essential ingredient for photography is, I’m sure the answer could only be one: light. It doesn’t matter what equipment, how many lenses you have or what quality they are, much less the maximum aperture of the diaphragm. At the basis of everything, however, there must be an understanding of light. Knowing that you need light to take pictures is nothing overwhelming or innovative, it is a well-known thing. If you are a photographer who wants to become aware of what he does, then the first thing you need to do when you enter an environment that you have to photograph is to evaluate the intensity of the light.
Whether natural or artificial. The intensity of light can also be identified as a quantity, in the end it is just a matter of understanding how much is present. Leave the camera aside for a moment and imagine how your eyes react to changes in brightness: if you pass from a light to a dark room for a while you will not see anything … all dark. In this case you are in a situation of “underexposure”, or if you go from a dark room to a light one, you will be dazzled by the brightness for a while.
The closeup in a portrait photo
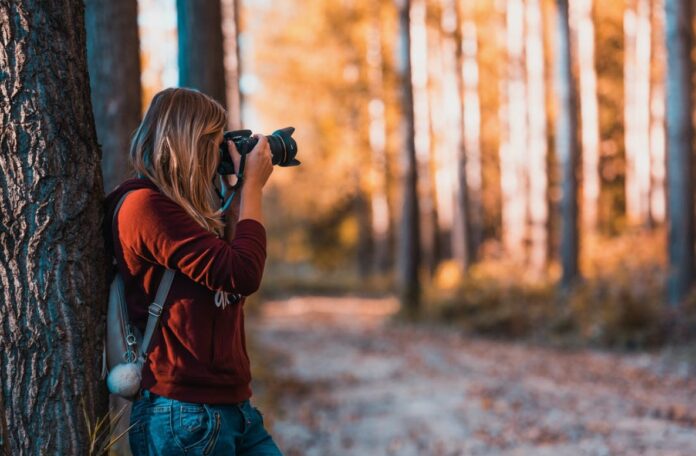
A classic example is to photograph a person or element making sure that it is perfectly sharp, while the background (or elements in front) completely blurred. By playing with the aperture and focal lengths, you can decide what to make appear “sharp” and what “blurry”.
This is a basic and simple technique to put the sharp subject in the “foreground” while the background will be totally uniform and devoid of distinguishable elements (and which can distract the observer).
In the same way, however, you can also decide to give importance to “many” elements of the frame (such as a group of people or a musical group), for this reason you could make sure to obtain a wide depth of field so that all elements are clear and contextualized, so that there is not one that prevails over the others. Obviously, in this last case you have to work differently, in composition, to get the message across to the observer without risking getting lost in a photo that doesn’t convey anything.
The first floor in landscape photography

If in the creation of a portrait it is quite simple to enhance the subject by playing with the blur behind the person photographed, things become a moment more complex when it comes to landscapes. Try to imagine your last trip / vacation / outing in the mountains or in the Tuscan hills and try to remember the most beautiful landscape you have ever seen. I am sure that from that context you will remember very well the sense of involvement and depth and grandeur of the elements on a three-dimensional level: in practice you felt “inside the landscape” or even “totally overwhelmed” by the majesty of what you were in front of and not simply in front of you. to a “postcard” to observe.
If you have visited the Tre Cime di Lavaredo, along the path within everyone’s reach at the foot of the three peaks, you will know what I mean when I talk about “feeling overwhelmed”.
Here … this is the point.
Normal “postcard” style photos fail to give you and convey a sense of involvement but simply show a certain context. This is the difficulty you face when approaching landscape photography. You have to be able to give a sense of three-dimensionality to the scene.
How to do?
The most immediate way is to create a detachment by playing with the elements so that there is:
• a foreground element
• the background element
• any intermediate elements (in the background)
So when you approach this type of photography make sure that there is an important subject / element in the foreground, perfectly in harmony with the background, and possibly with some elements in between.
The better you will be able to obtain this type of composition, the more likely the observer will be involved in reading the image; captured by the subject in the foreground and then sliding into the background passing through the intermediate elements.
By playing your cards in this way, or by taking advantage of the perspective (which we will learn more about later in the manual), you can achieve something more than a simple postcard.
Did you like this content or was it useful to you? Thank you for reading and have a great day!


")
