
Taking landscape photos seems pretty easy, right? You just find the right location and grab your camera. We all tried doing this only to discover we can never get it right. Maybe the light isn’t perfect, or the caption is blurry. So how do professionals do it?
Failing to capture the moment repeatedly even though you are surrounded by breathtaking nature can prove to be quite frustrating. If you are not ready to give up just yet, you should continue reading this article. Why? Well, here are some tips and tricks you should try out next time you go to a beautiful location.
Plan ahead

We will break your illusion right at the beginning. Many people believe that you can get an outstanding landscape photo spontaneously. It may happen, but the truth is that if you want to take one as professionals do, you have to do some planning. First of all, you need to think about the location. Where do you want to go? What do you want to capture? What is the best part of the day to do it? This way, you will be able to travel to the place, have enough time to set your camera, and adjust everything. Keep in mind that the first shot probably won’t be perfect. Due to this reason, you have to ensure that you have more than enough time to take as many photos as necessary until you get the one you love. What’s more, don’t forget to check the weather forecast. Sometimes natural elements can be your worst enemy when trying to complete this task.
Capture something unique
One of the most important personal traits every professional photographer possesses is patience. If you are not building a portfolio and just like posting these photos on your social media, you can photograph pretty much anything. However, if you want to take your skill to the next level, you have to find a new point of view. It may seem redundant at first but just think about all the different photos taken from the same mountain top or street. Even though you can tell that it is the same location, all of them look different, right? Once again, you have to take your time, explore the surroundings and find a new angle to capture something one-of-a-kind.
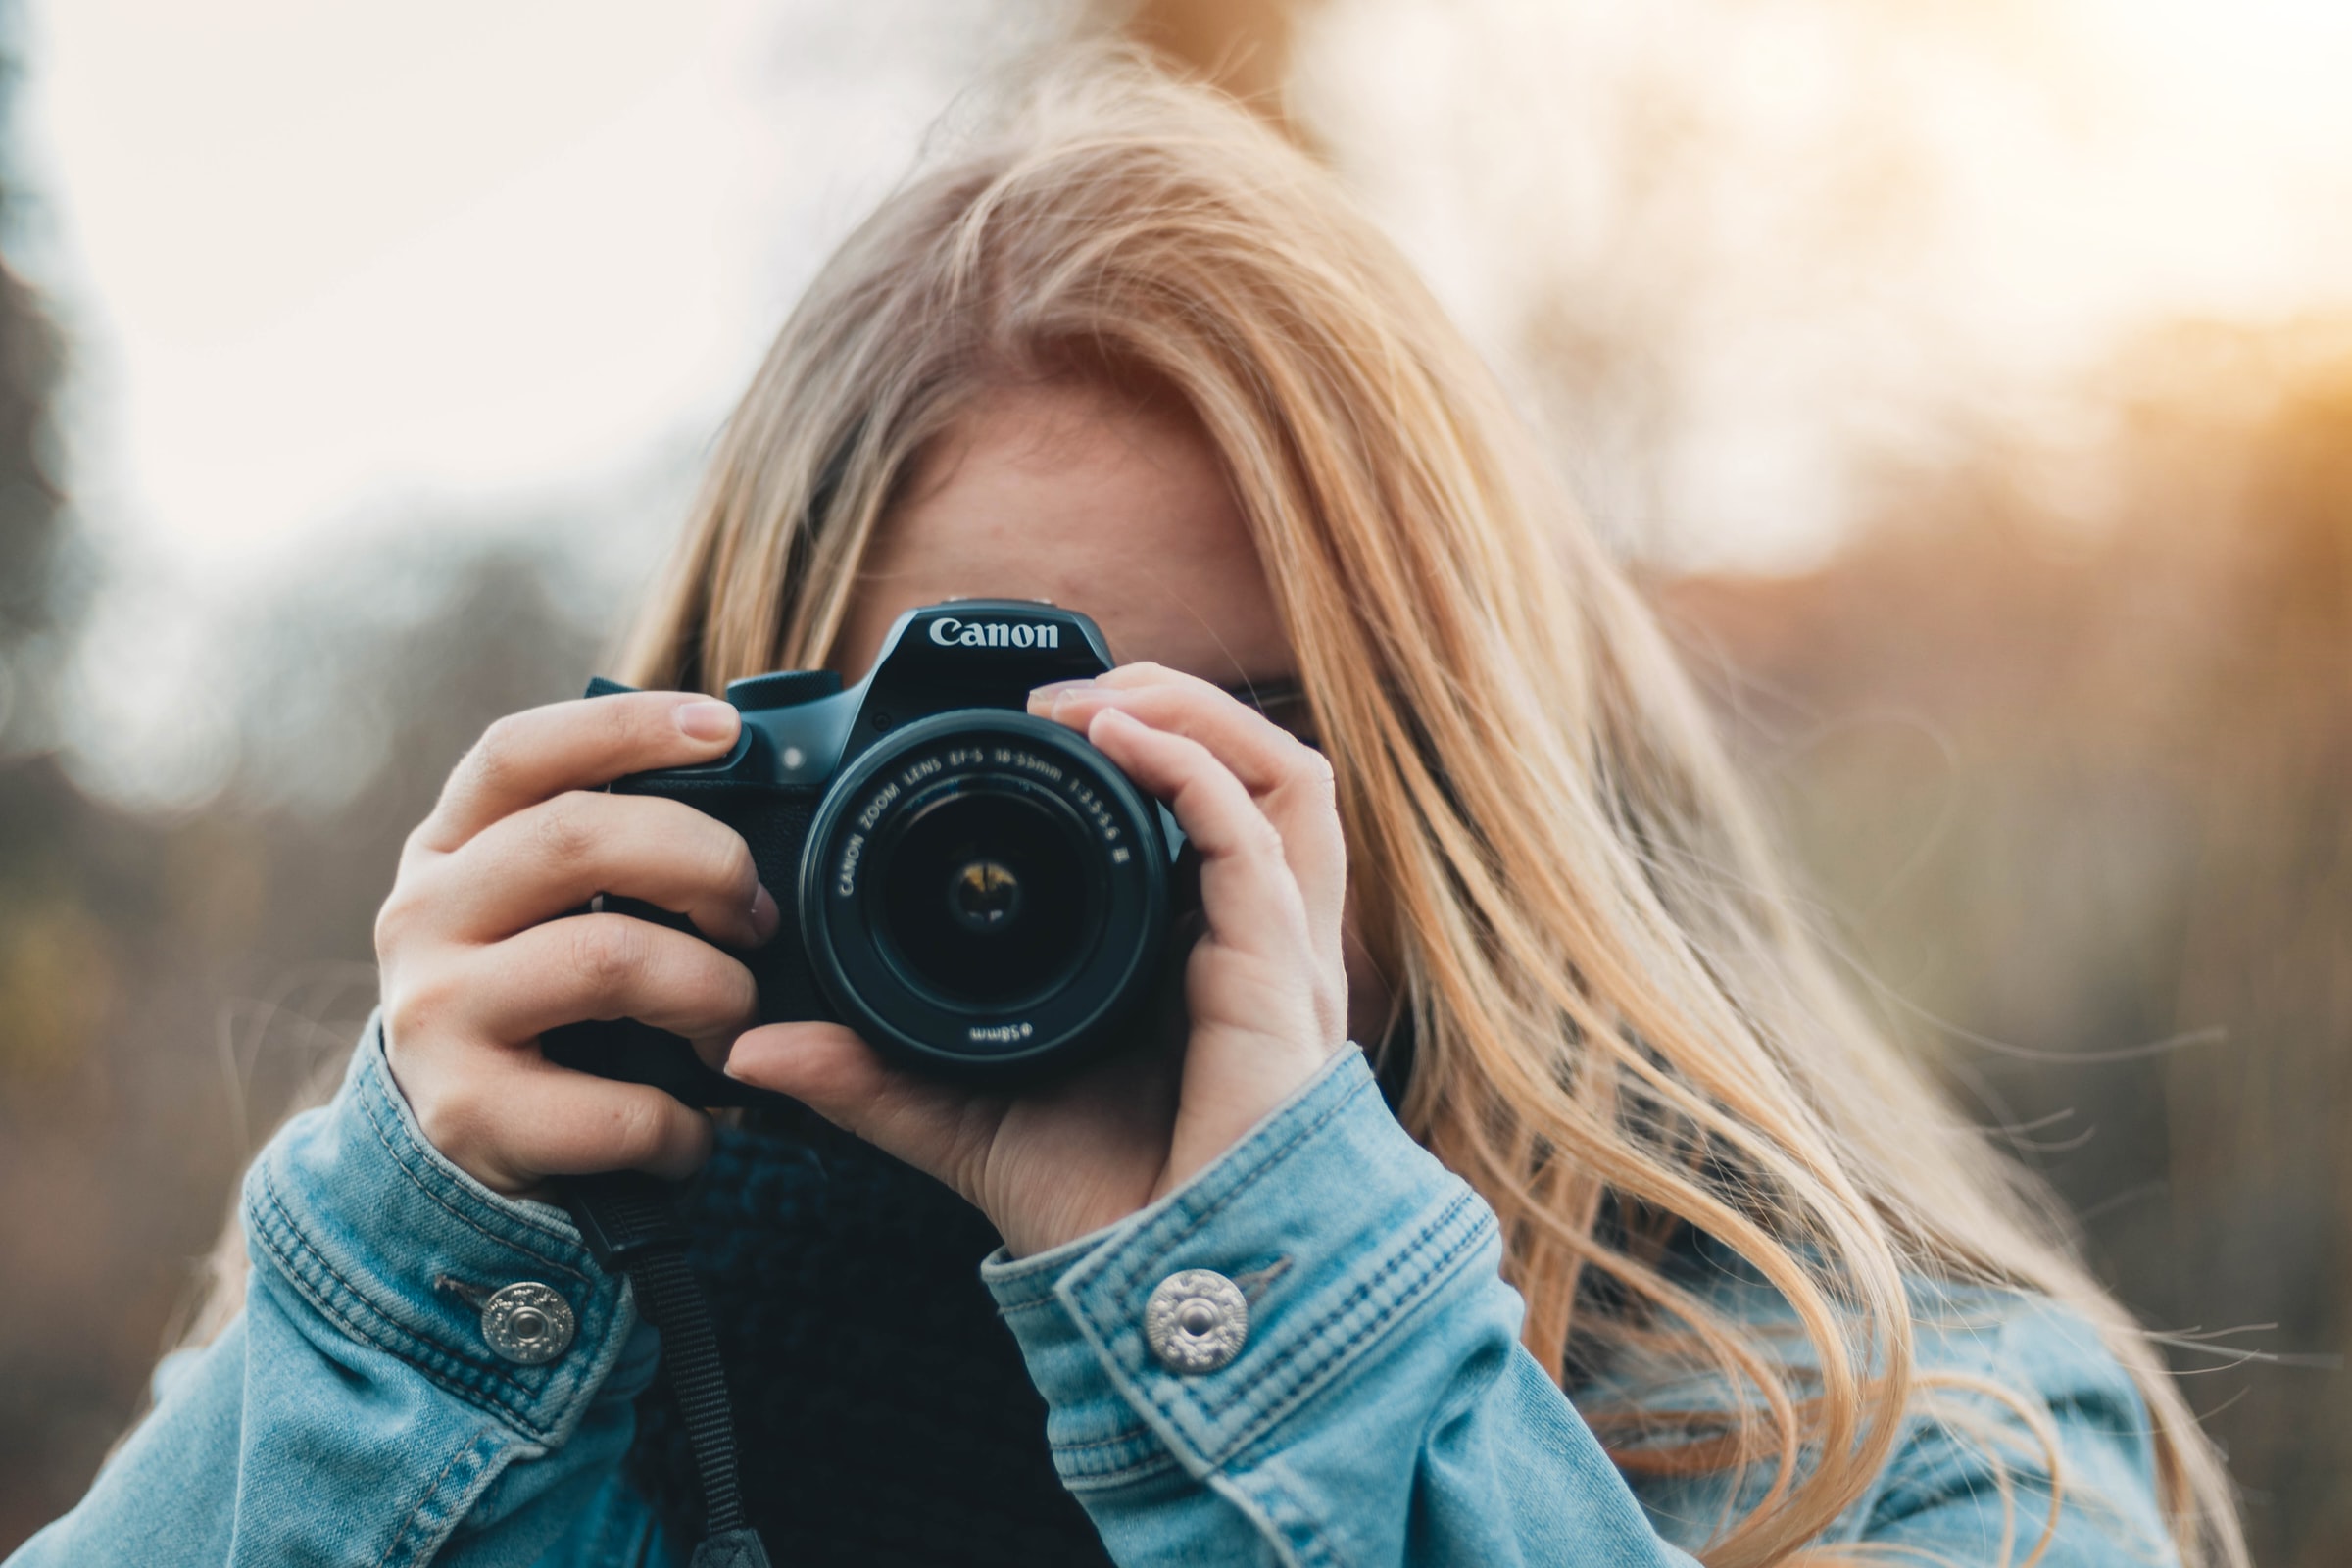
Adjust your camera
Now that you know what you want to photograph, it is time to adjust your camera accordingly. When it comes to landscape art, you should go with a mid-range aperture.
Why? Well, you want to get a sharp image, this is the best setting to do it. If you were to go with the lowest or highest setting available, there would undoubtedly be some blurry edges or parts of the photos. Yes, this can look great and artistic, but not when it comes to landscape work. Naturally, this is only true if you want to get a sharp photo. On the other hand, if you want to blur some parts, you can always play with the aperture spectrum.
Moreover, don’t forget about the ISO. It is the main tool to ensure your caption won’t be grainy. The general rule is to go with the lowest ISO possible. However, this doesn’t mean you have to sacrifice aperture and shutter speed. The best thing you can do is test several combinations until you find the right one.
Don’t forget about filters
When trying the capture a landscape that includes several vibrant colors, polarizing and natural density features will be your main tool. These will enable you to enhance the colors and reduce the glare at the same time. This is very important if your composition includes water or other reflecting elements. The light reflection on the surface may destroy your photo, and this is when these filters come in handy. You can simply attach these to your camera and then adjust them until you get the perfect shot. If you are looking for some examples of this effect, visit photokiakotos.com.
Use a tripod
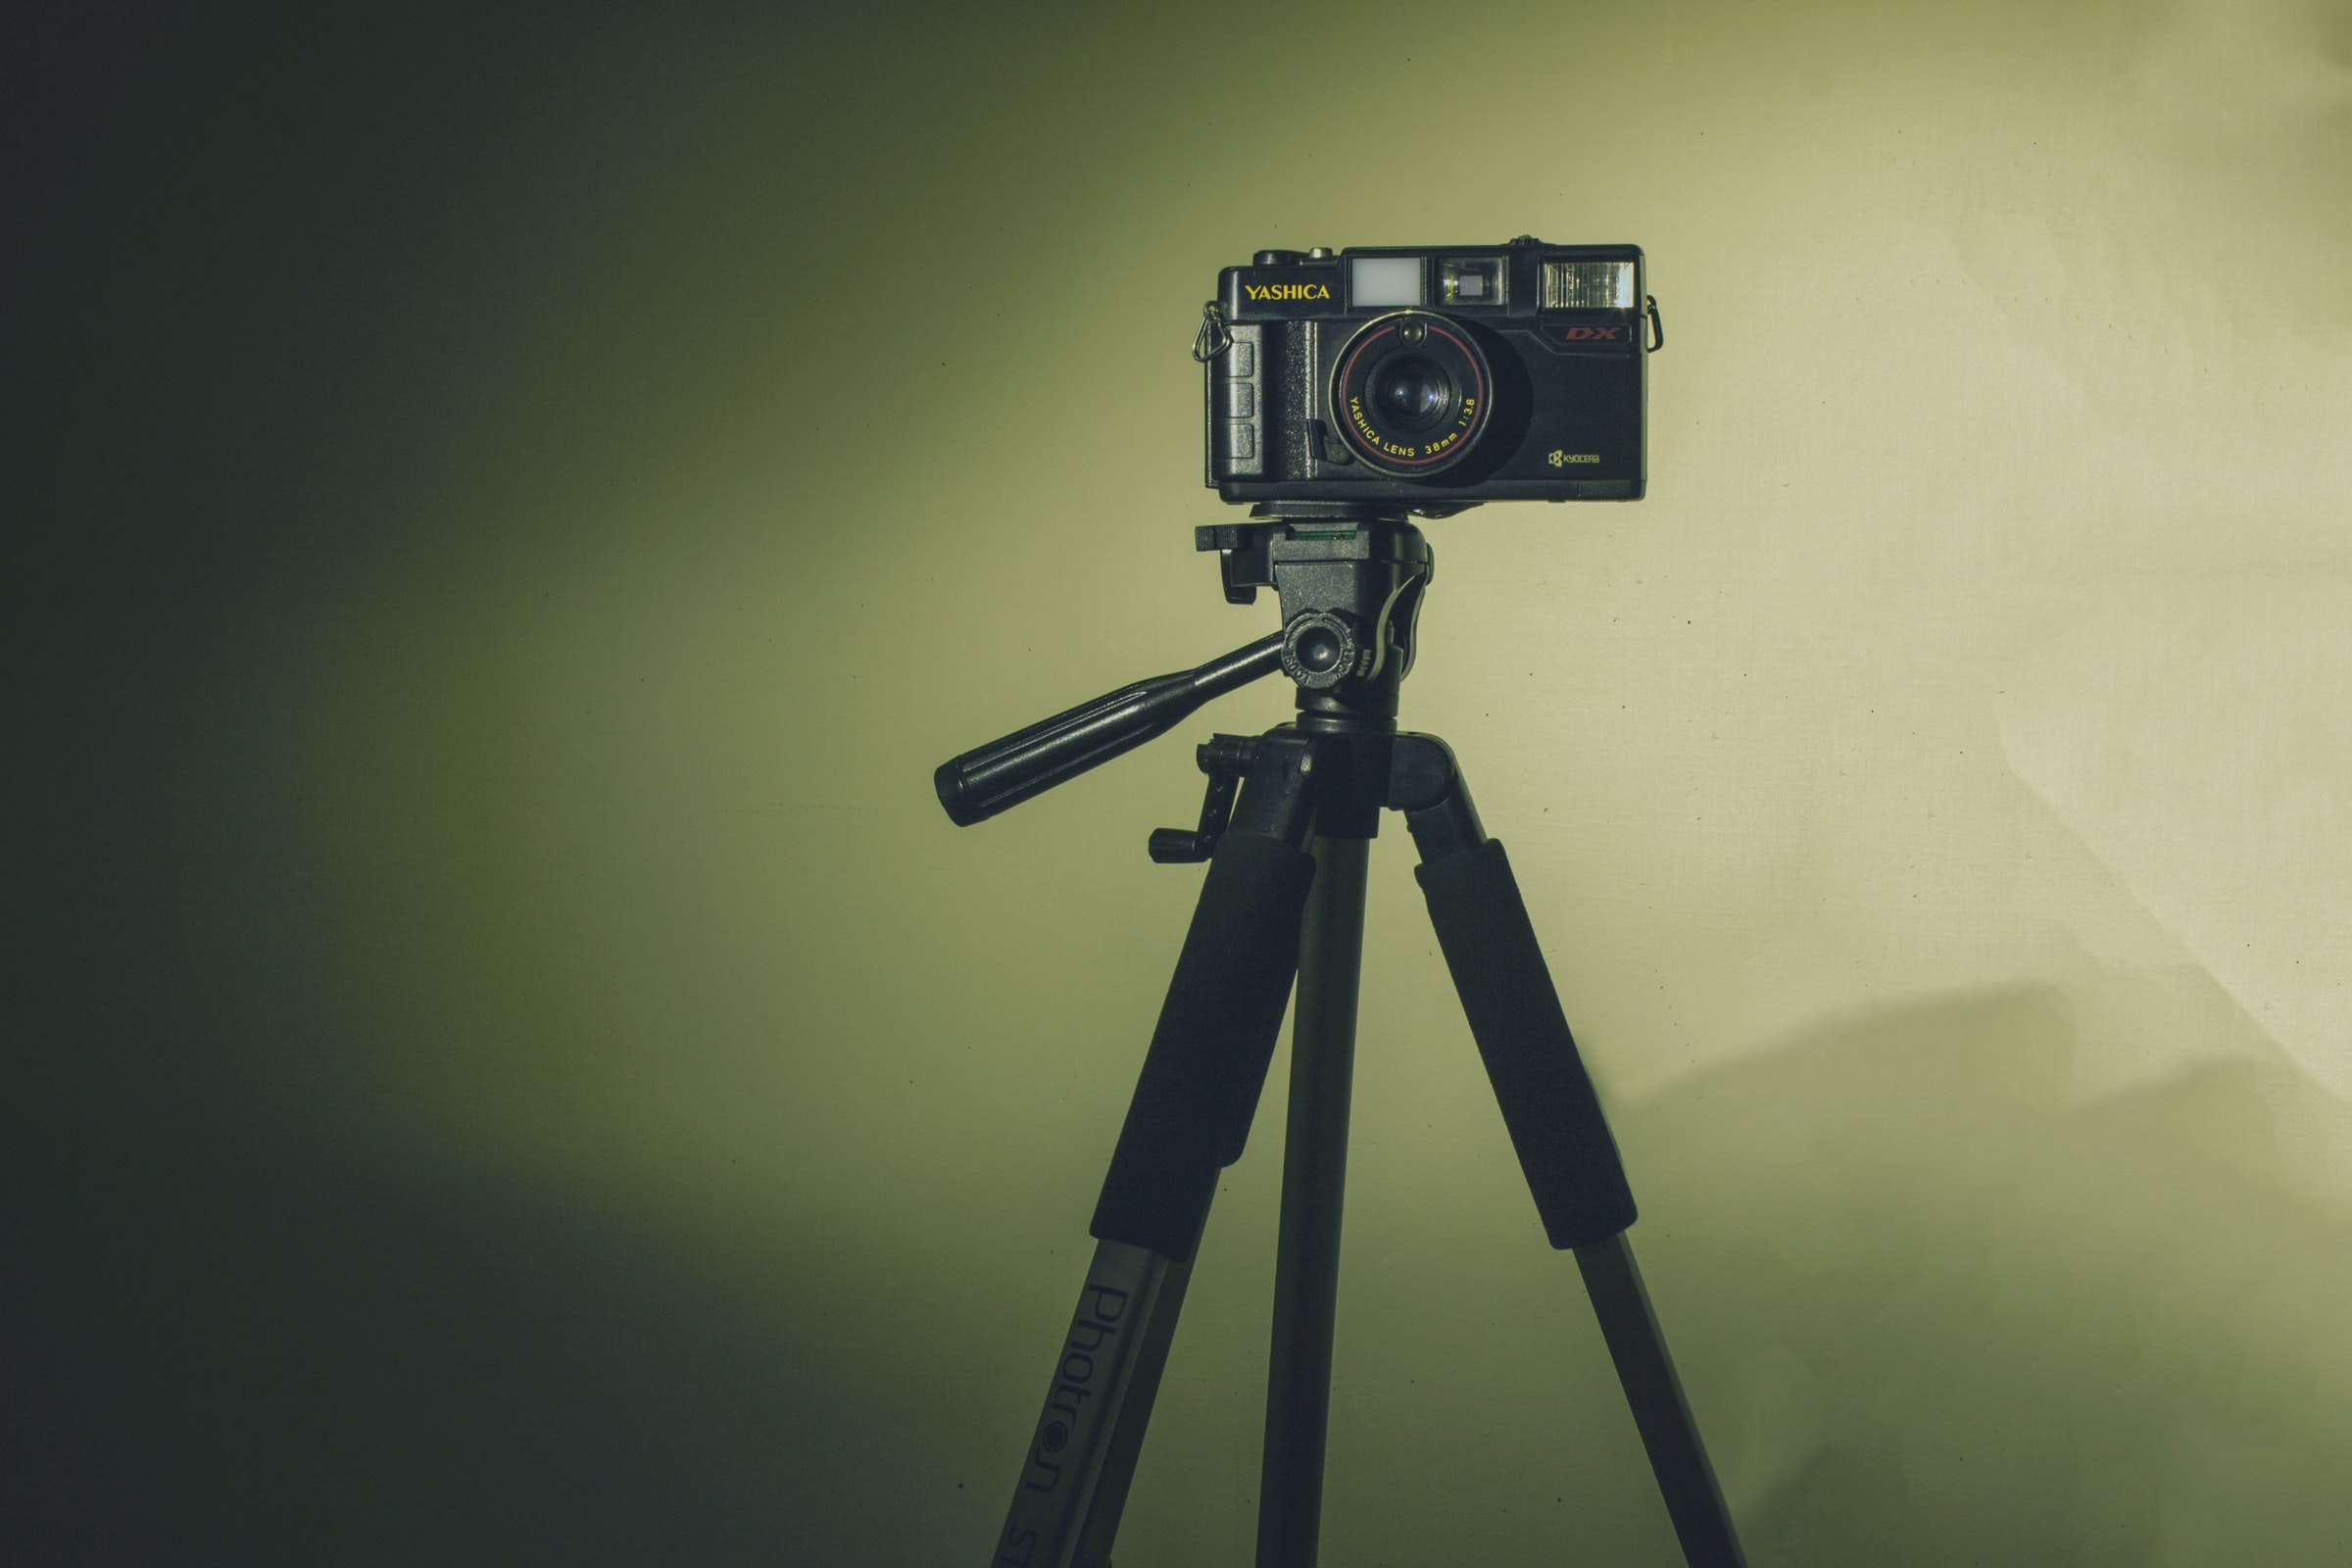
Obviously, a tripod is not always necessary, but it can be essential in some cases, especially when it comes to landscape art. If you want to take photos of the clouds or the water movement, you have to adjust the ISO to the lowest setting. Now, another challenge arises. When you do this, it won’t be easy to get a sharp photo without a tripod. Another thing that affects this is the shutter speed. You can take a sharp image if the speed is high, but you will definitely need a tripod if you want to use the low one.
Choose the right time
We have already mentioned that the time of the day is critical but let us elaborate on that. Professional refers to the time before the sunset or right after the sunrise as the golden hour. Yes, this is because of the light. If you want to get that warm light on your photograph or capture shadows, you should go out during this period. Clearly, this doesn’t mean you cannot capture scenery during midday when the sun is high in the sky. If this is the case, you have to look for ways to soften the harsh glare that won’t make your work appealing. You can wait for a cloud to cover the sun and take the photo then. You understand why professionals have to be patient, right?
Experiment
The last piece of advice we have for you is to experiment as much as you can. Yes, even professionals do this. Go out and have fun. Try different camera settings, compositions, lights, filters, and so on. We can almost certainly say that you won’t get a perfect photo after the first try. So, make sure to try different things, adjust the settings, and move around your location. Another thing, you should never settle with a good photo. If you believe that you can do better, then go and do it again. Analyze the caption, find the things that you can do better, and come back again.

")


")
