
Have you ever heard that indoor air can be up to five times more polluted than outdoor air after major renovation work?
Freshly finished homes look wonderful, but the fine dust left behind behaves like smoke particles. It floats, hides, settles, and then resurfaces exactly when you think you are done.
If you have just completed a remodel, you probably want your space to finally feel like a home again, not like a construction site.
That is exactly where a well structured after builders cleaning checklist makes life easier, calmer, and much healthier for everyone living inside.
Why renovation dust needs special attention
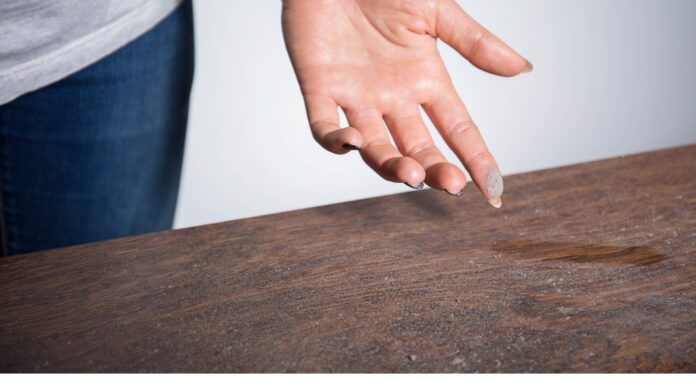
When renovation work ends, the real job of making the home livable begins. Construction dust is not like regular household dust.
It comes from plaster, cement, wood, grout residue, tile cutting, and micro particles from paint and adhesives. These particles spread everywhere, travel through the air, cling to fabrics, and settle repeatedly if you rush the cleaning phase.
Main priorities at this stage include:
- Making sure dust is removed in layers instead of smeared or pushed around
- Preventing respiratory irritation, allergies, and lingering odors
- Restoring surfaces so they actually feel new, fresh, and usable
- Reducing long term wear caused by abrasive fine particles
Planning the first big clean after renovation
Before diving into scrubbing, it helps to treat this like a project. Create a plan, gather the right tools, and decide whether you truly want to handle everything yourself.
Many homeowners realize this phase is intense and time consuming, which is why professional help can be incredibly practical.
After builders cleaning service makes the entire process safer, more efficient, and much faster, especially when time, health, and precision matter.
Take your time here. Schedule at least a day or two depending on the size of your renovation. Wear masks, gloves, and try to keep windows open so dust has somewhere to escape instead of simply circulating inside again.
Room by room checklist for renovation dust
A structured approach prevents overwhelm. Move room by room instead of jumping back and forth, because every time you re enter a finished room, you carry dust in with you again.
Start from the top floors or upper levels of the house and gradually work down.
| Area | Priority Task | Extra Note |
| Ceilings & Lights | Dust and wipe | Fine dust gathers upward |
| Walls & Doors | Wipe thoroughly | Focus on corners and trim |
| Shelves & Furniture | Deep clean | Dust hides on flat edges |
| Floors | Clean last | Prevent resettling |
Cleaning in this order stops repeated mess and keeps things efficient.
Hidden dust zones people forget
Renovation dust loves sneaky spots, especially textured or detailed areas. Even when rooms look visually clean, there are zones that continue releasing dust unless you clean them intentionally.
These spaces need slow, patient attention with microfiber cloths and gentle cleaning tools.
Construction dust often reappears because it settles into ventilation paths, fabric fibers, and textured surfaces, then gradually releases back into the air whenever the home is used normally.
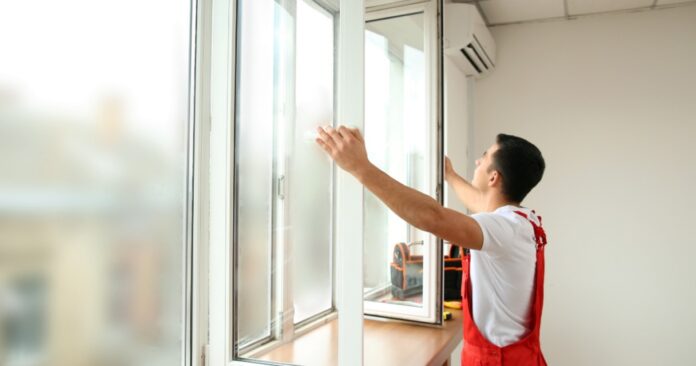
Focus carefully on window tracks, cabinet edges, socket covers, switches, curtain rails, stair railings, and any decorative detailing.
These areas hold onto invisible layers that keep circulating inside the home.
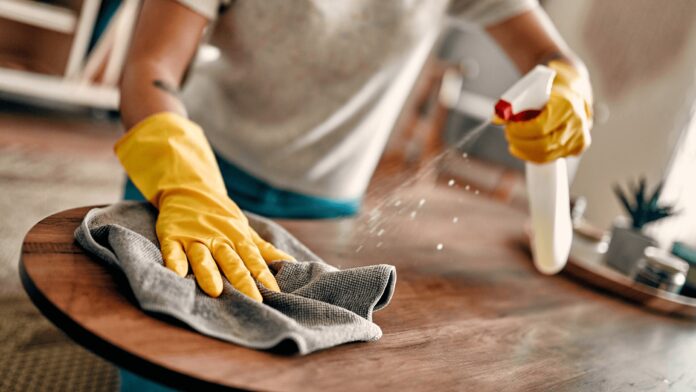
Floors and surfaces deserve special treatment
Once upper areas are handled, it is finally safe to work on floors. This step makes the biggest visual difference, but it also protects long term comfort and hygiene.
Vacuuming first is essential so abrasive dust does not scratch surfaces when mopping or polishing.
For best results:
- Vacuum slowly using a high filtration vacuum rather than sweeping
- Mop with gentle cleaners instead of harsh chemicals
- Clean skirting boards, trims, and edging carefully
- Polish where needed so surfaces regain brightness
Give floors enough time to dry before walking on them so they stay spotless instead of becoming dusty again instantly.
Air quality matters as much as visible cleanliness
Even when every corner sparkles, your indoor air may still hold microscopic dust. This is why this step is essential.
Clean vents, wipe fan blades, refresh filters, and allow good ventilation. If possible, air purifiers help reduce fine particles that normal cleaning cannot capture fully.
Did you know?
Fine renovation dust can linger in indoor air circulation for up to three months if ventilation systems and filters are ignored, meaning you continue breathing hidden construction residue long after work is finished.
Spend time freshening the air. It is one of the most important health steps in an after builders cleaning routine.
Final detailing, polishing, and safety checks
Now your home probably feels genuinely livable again, but final detailing is what turns a clean house into a finished home.
Polish fixtures, clean mirrors, wipe stainless steel, and remove sticky paint splashes or adhesive residue.
These small touches bring that satisfying “finished renovation” feeling you have been waiting for.
Make one last safety check too. Ensure no nails, leftover materials, sharp fragments, or loose debris remain.
If children or pets share your space, this check is especially important. At this point, you finally get to arrange furniture, relax, and enjoy the result of all the effort invested in the renovation journey.
A home feels new only when the dust is gone
Renovation transforms a space, but only proper after builders cleaning makes that transformation truly enjoyable.
Taking dust seriously protects your health, preserves your new finishes, and helps your home actually feel refreshed instead of unfinished.
Whether you handle everything step by step or call in professional help, following a structured checklist keeps things organized and stress free.
Once the dust finally settles and every surface feels clean, that is when the renovation truly feels complete, and your new space finally becomes a comfortable place to live in again.

")


")
