
Becoming a digital sculptor opens up a world of creativity where your imagination can come to life. The process may seem complex at first, but with the right approach and tools, anyone can learn the art of digital sculpting.
It’s about combining your artistic vision with technology, turning a blank digital canvas into something uniquely yours.
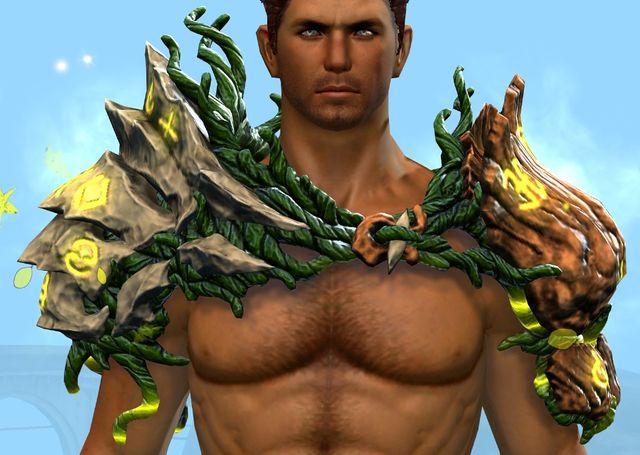
And creating a guild wars figurine allows you to bring a favorite character to life. Whether it’s a stoic warrior or a magical sorceress, the process is exciting.
The experience is both rewarding and personal. Ready to explore what it takes to become a
digital sculptor? Let’s break down the essentials.
Getting Started
Start by choosing the character you want to design. Consider details like clothing, armor, and weapons. You might have a favorite character with specific traits that you want to highlight. A clear vision helps you stay focused.
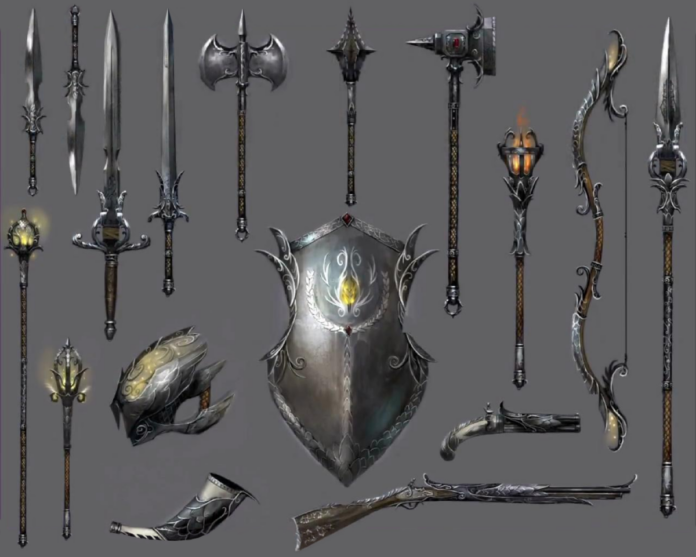
If you need inspiration or references, check out existing figurines. For example, you can explore a wide range of designs and styles at guild wars figurine. Examine the proportions, textures, and poses. Knowing what looks good helps in your design process.
Once you’ve picked a character, start sketching. Draw a rough outline. No need for perfection at this stage. Focus on capturing the essence of the character. Look at different angles. Consider the figure’s pose. A dynamic pose adds life to the figurine.
Choosing the Right Software
Next, choose software to create your digital sculpture. Some popular options include Blender, ZBrush, and Tinkercad. Blender is free and offers a wide range of features. It’s perfect for beginners who want to explore digital sculpting.
ZBrush is more advanced, providing detailed tools for professionals. Tinkercad is simple and ideal for those new to 3D design. Each tool has strengths and weaknesses. Choose one that fits your skill level and needs.
Start by learning the basics of your chosen software. Familiarize yourself with the interface. Understand the tools available. Many online tutorials are available, providing step-by-step instructions. Practice basic shapes. Get comfortable before moving on to more complex designs.
Building the Base Model
Begin with a base model. This is a rough 3D shape that represents your figurine’s general form. Start with basic shapes like spheres and cylinders. Gradually refine these shapes to match your character. Use scaling, rotating, and moving tools to adjust the parts of the model.
Pay attention to proportions. Keep the character’s height, limb length, and body shape accurate. Refer back to your sketch for guidance. As the base model starts to take shape, you can add more details.
Add features like facial expressions, armor pieces, and weapons. Use brushes and sculpting tools to shape the finer details. Don’t rush. Take your time to ensure that each part looks right.
Detailing and Refining
Once you have the base model, it’s time to add details. This is where your figurine comes to life. Focus on the finer aspects of your character. Sculpt muscles, facial features, and clothing folds. Use tools to create textures that mimic skin, fabric, or metal. These details make the figurine realistic.
Consider adding accessories like belts, pouches, or jewelry. Small details make a big difference. Take care to sculpt these elements with precision.
Remember to save your work regularly. Digital sculpting requires many steps. Losing your progress due to a mistake or crash can be frustrating.
Texturing and Coloring
After sculpting, move on to texturing and coloring. This step adds depth and realism to your figurine. Start by choosing a color scheme. Refer to your character’s original design. Consider how light and shadow affect the appearance of colors.
Use texture brushes to apply different materials to your model. For example, you can create a rough, stone-like texture for armor or smooth, shiny surfaces for metal parts. The goal is to make the figurine look as close to the real thing as possible.
When coloring, think about highlights and shadows. These effects create a sense of depth. Apply lighter colors to areas where light would naturally hit. Use darker shades in shadowed areas. This technique enhances the 3D effect of your figurine.
Posing Your Figurine
Now it’s time to pose your figurine. Posing gives your character personality. A dynamic pose captures movement and emotion. A relaxed pose conveys calmness or contemplation. Choose a pose that reflects your character’s traits.
Use your software’s posing tools to move the figurine’s limbs and body parts. Pay attention to balance. The figurine should look stable and natural. Avoid awkward angles or unnatural positions. A well-posed figurine tells a story.
Experiment with different poses until you find the one that works best. Don’t settle for the first pose you create. Explore different options.
3D Printing the Figurine
Before printing, you need to prepare your model. Ensure the figurine is properly scaled. Consider the size of the final print. Larger models allow for more detail but require more material and time to print.
Check your model for errors. Look for holes, overlapping parts, or thin areas that might break during printing. Use the software’s analysis tools to identify potential issues. Fix any problems before moving on.
Export your model in the correct format for 3D printing. Common formats include STL and OBJ. Make sure the file is clean and ready for printing.
Choose a suitable material for your figurine. Common materials include PLA, resin, and ABS. PLA is easy to print and affordable. Resin offers higher detail but requires more care during printing. ABS is strong and durable, ideal for figurines with delicate parts.
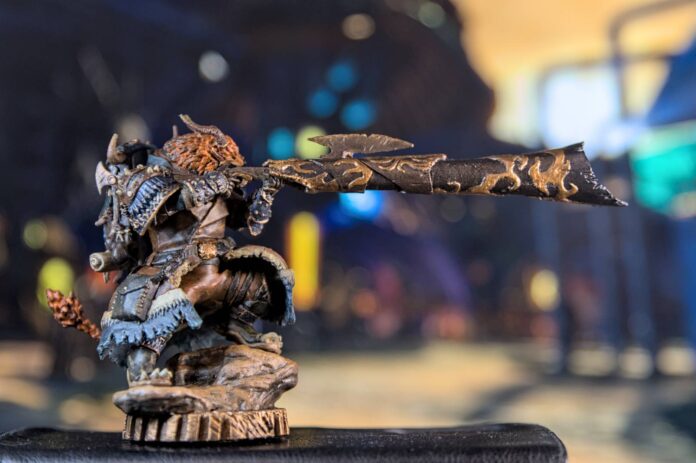
Once printed, inspect your figurine. You might need to sand rough edges or glue small parts together.
Painting and Finishing
The final step is painting and finishing your figurine. Start by applying a base coat. This coat helps the paint adhere better and provides a uniform surface. Use acrylic paints for their versatility and ease of use.
Choose a color scheme that matches your character. Use small brushes for fine details. Apply multiple thin coats instead of one thick layer. This approach ensures smooth and even coverage.
After painting, seal the figurine with a clear coat. This step protects the paint and adds a professional finish. Matte or glossy finishes are available, depending on your preference.
Display your figurine proudly once finished. You’ve transformed a digital model into a tangible piece of art. Your hard work and creativity have paid off.
Conclusion
Designing a Guild Wars figurine is an achievable project. You can create a unique piece of art with the right tools, some practice, and patience. Whether you’re a fan of the game or simply enjoy creative projects, sculpting your own figurine offers a satisfying experience. Start your project today. Enjoy the journey from concept to creation.


")
