
The pool is a pleasant place to gather family and friends. By renovating an old pool that is clean, protected, and well maintained – you will get the ideal place to relax and enjoy. Let us introduce you to 5 tips for understanding the pool resurfacing process.
Your Pool Needs Renewal After Years Of Use
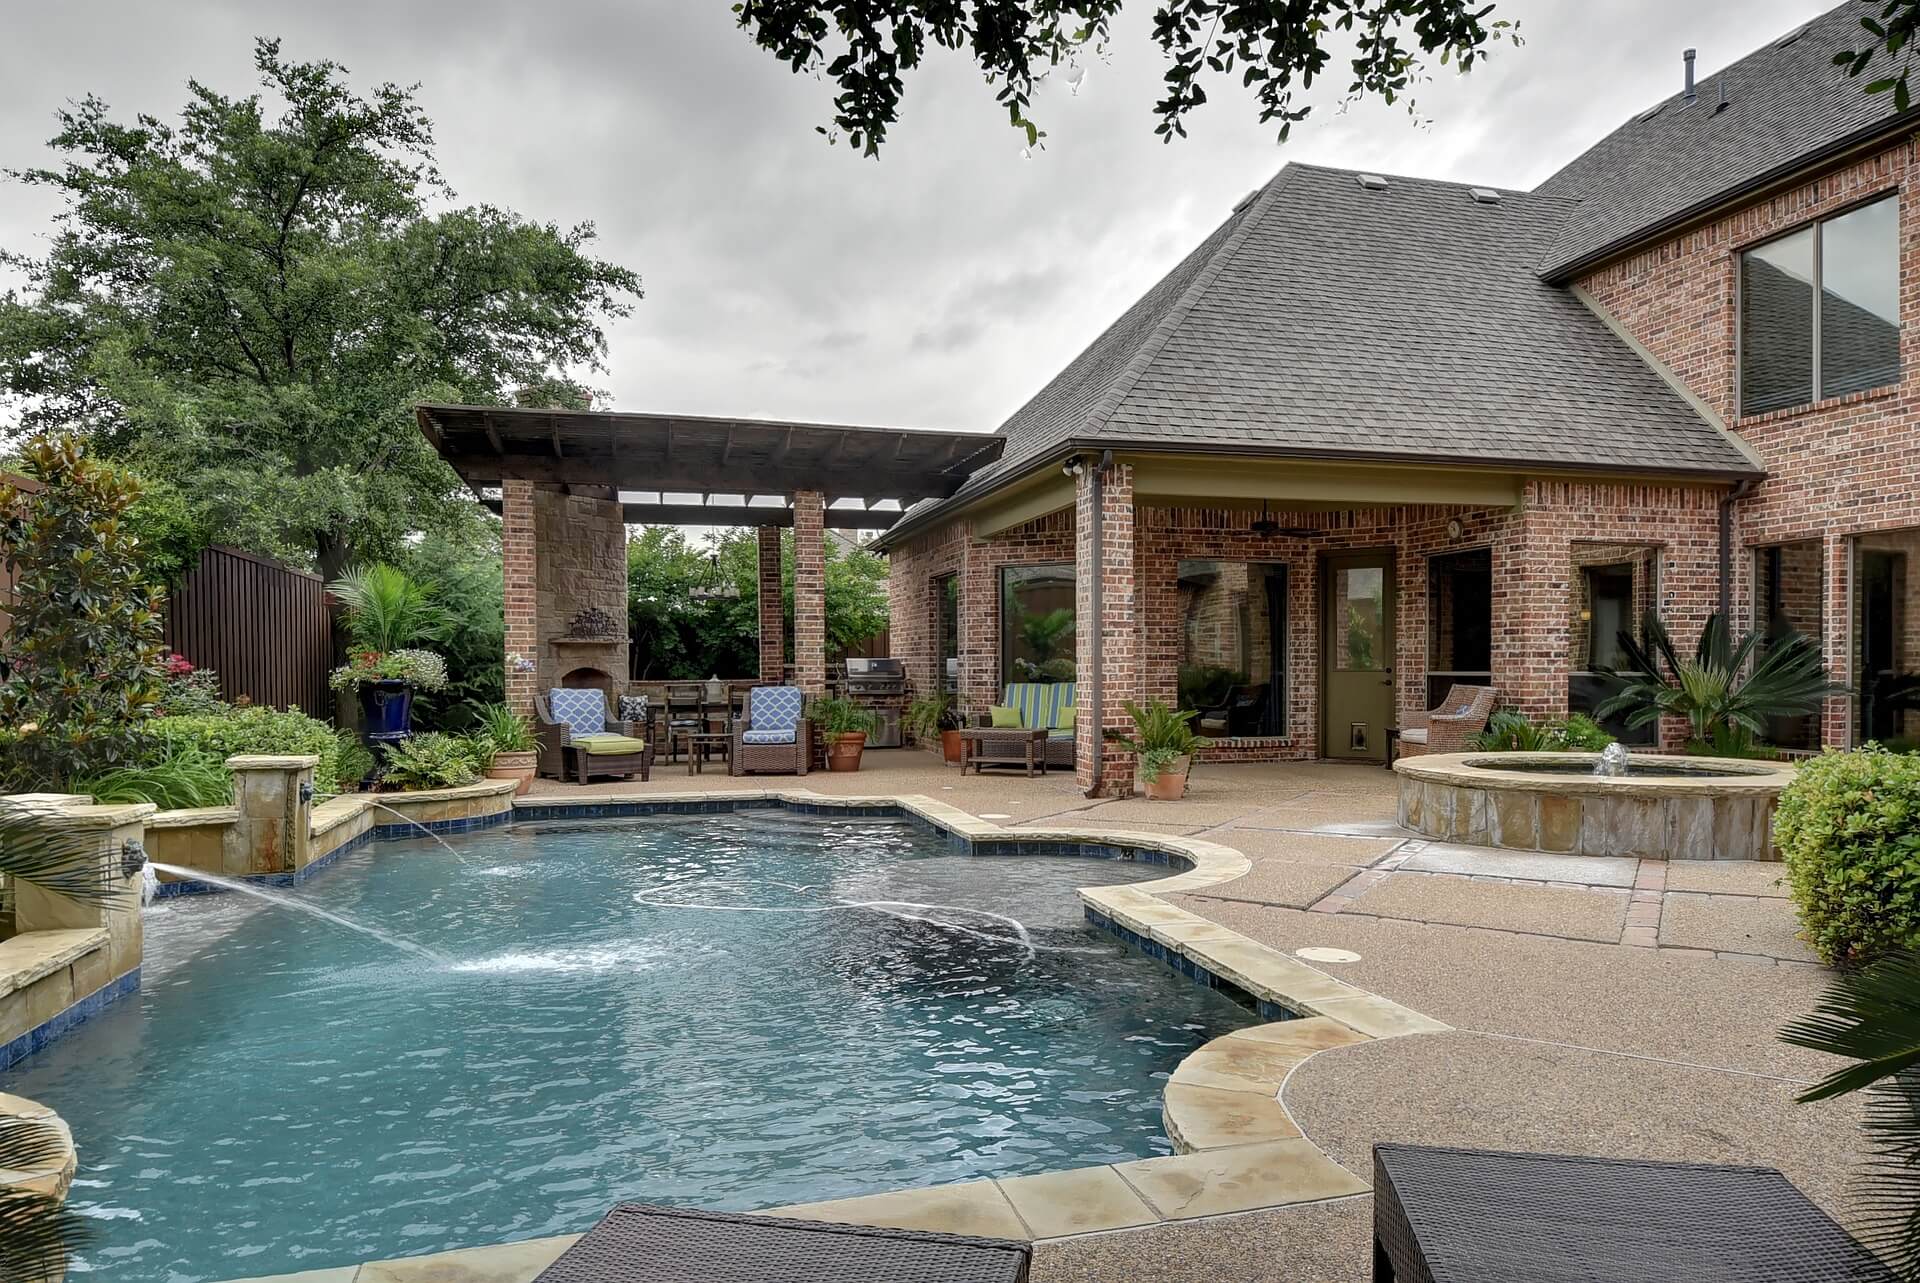
Although summer is not near yet, maybe now is the right time to think about preparing your pool for the next bathing season. The pool gives you great joy and endless fun for the entire family. However, we must not forget that we need to maintain it properly. This is not just about cleaning, water quality, or protection during the wintertime. You also need to think about the surface of your pool and check its condition – because it may be worn out.
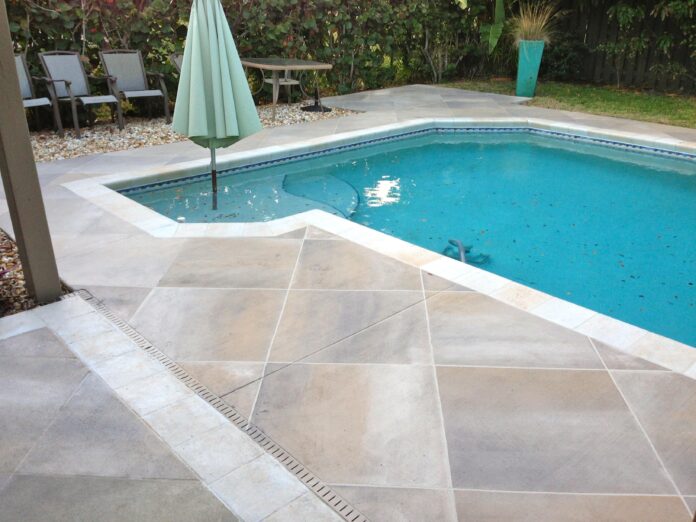
If you notice stains or cracks in your pool, know that the time has come for you to resurface it. Although by now you may not have had to go through this whole procedure – you should know what to expect in that case, so here are some tips on it.
Understanding The Pool Resurfacing Process
You have to know that this is a big job and that sometimes it can cost a lot. So think of a time when and what you need to do. According to Palm Springs Pool Resurfacing, resurfacing a pool is a job that needs to be done by professionals. However, you need to know that any work on resurfacing your pool requires you to go through some of the phases that you need to understand.
1. Planning
Planning before pool renovation is a key step to estimate the cost and time of the work. It is always ideal to include a planning phase – so that you can go through this experience in a peaceful and organized way. Specify parameters such as how to remove old materials, choose the type of new materials, and color that depends on your preferences.
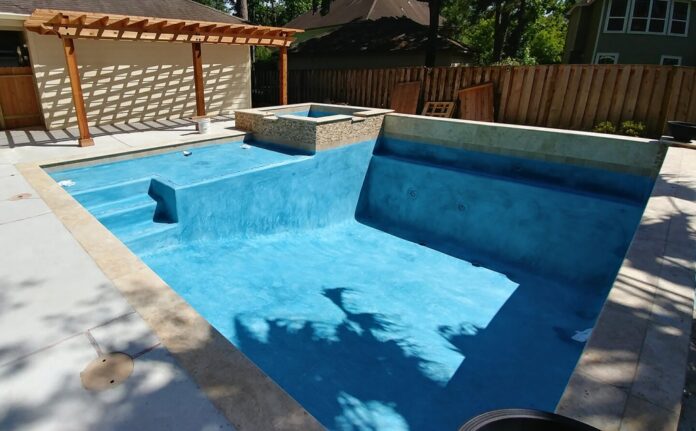
2. Surface removal and cleaning

Of course, before this, the water from the pool must be emptied. After that, the surface and tiles should be removed. Then, the glue that remains on the surface needs to be cleaned.
This will produce a lot of construction waste -so it is necessary to ensure where you will dispose of the waste. If there is a problem with the water installations during the resurfacing process – they need to be repaired.
3. Closing cracks and leveling surfaces
All cracks visible in horizontal and vertical form should be opened in a V-shape and repaired with special damage repair products. Before laying the selected type of tiles, it is necessary to check that the surface is flat and clean. If the surface is not clean – it must be cleaned of dust and other impurities. A leveling compound designed for underwater areas is then applied to the entire surface – to avoid plane mismatches.
4. Impregnation and waterproofing
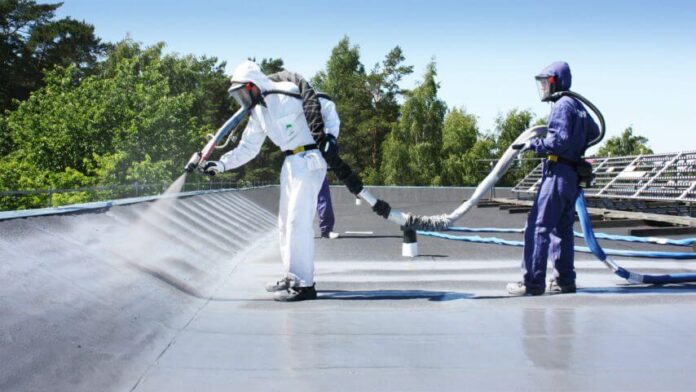
Renovation or construction of a swimming pool cannot pass without good impregnation and waterproofing. After drying the leveling mixture and crack repair mixture – it is necessary to apply impregnating and waterproofing agents. Then you will be sure that the new surface will not give in due to the pressure of the water in the pool.
5. Laying tiles
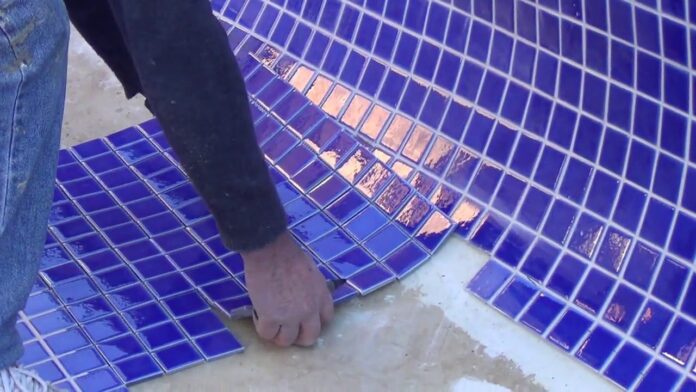
One way to make your pool look better is to choose the color of the tiles. Choose a color that will give a special beauty to your pool. The tiles also provide additional protection against water penetration. After the glue dries – professionals will apply a grout that is designed specifically for swimming pools.
The Bottom Line
When you understand the scope and difficulty of the procedure of resurfacing your pool – it will be clear to you that you need time and help from professionals. However, once you have a good understanding of the whole process, it is clear to you that your pool will last much longer after that – and you will continue to enjoy yourself with your family. So, the investment will definitely pay off.


")
